
Firebaseをflutterに入れる手順とその際に発生するエラーについてまとめています。
前提条件
Firebaseのアカウントが既に作成されていることを念頭に解説します。
Firabaseでアプリの登録
プロジェクトの追加
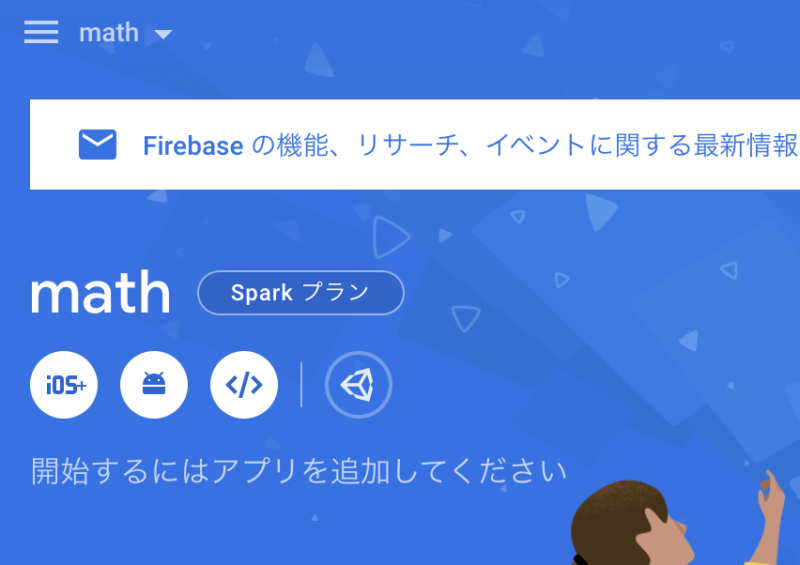
Firebaseのページにいき、プロジェクトを追加します。
iOSアプリの追加
プロジェクトを選択し、iosボタンを押してください。

AppleバンドルIDを入力し、「アプリを登録」を押します。
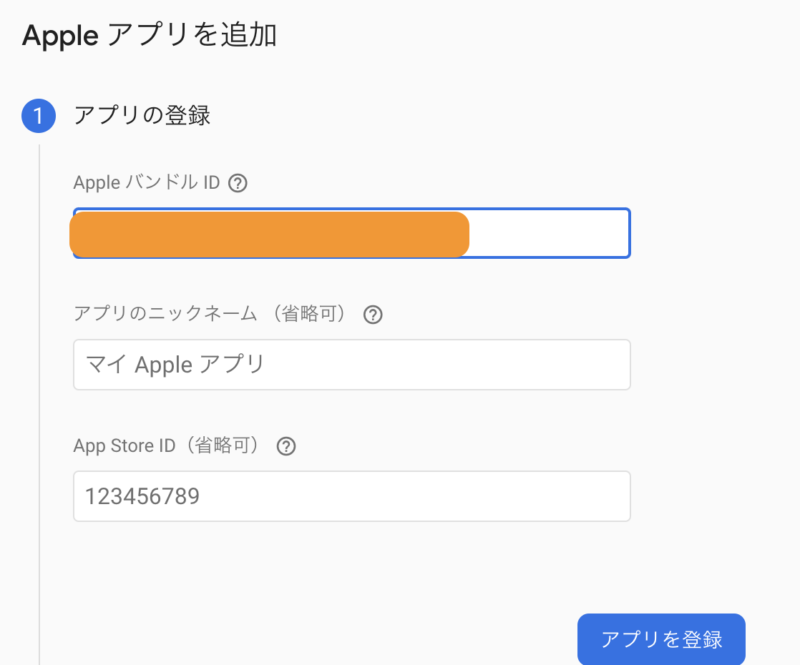
バンドルIDは、Runnerを開き、TARGETS>Generalに記載されています。

設定ファイルのダウンロード
GoogleService-Info.plistをダウンロードします。
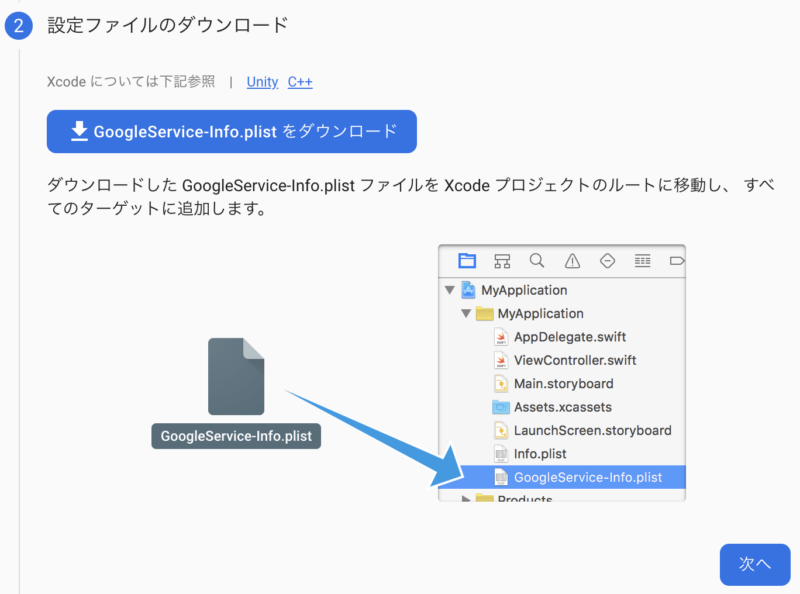
ダウンロードしたファイルを、下記のようにRunnnerフォルダにドラッグします。
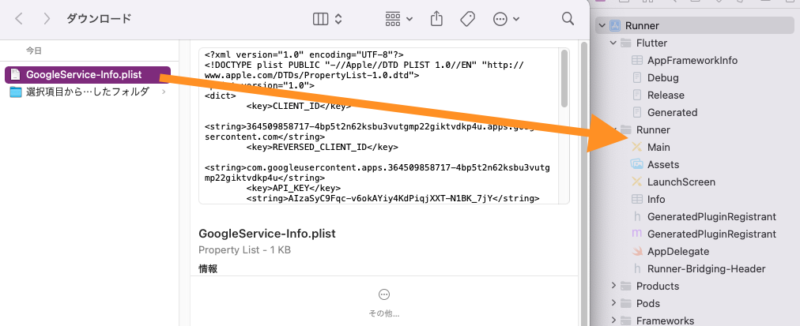
GoogleService-info.plistは、必ずXcodeで移動させてください。Android Studioなどでファイル移動させると、後でfirebaseを使う際に、”Firebase has not been correctly initialized”というエラーが出てしまいます。参考↓
Flutterの場合は、以上で設定は終了です。
Androidアプリの追加
プロジェクトページにいき、Androidマークのボタンを押してください。
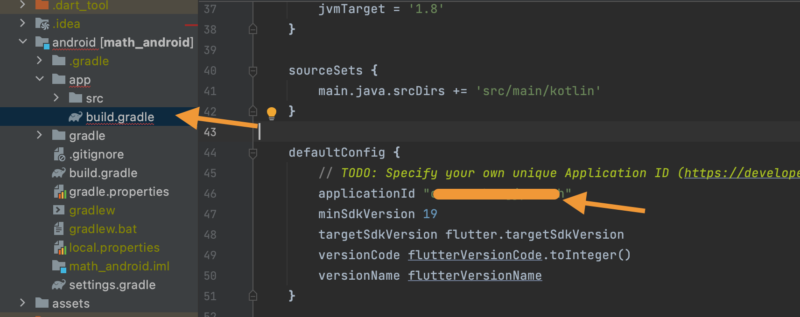
AndroidパッケージIDを追加し、アプリを登録を押します。パッケージIDはandroid>app>build.gradleのapplicationIDに書いてあります。
設定ファイルの追加
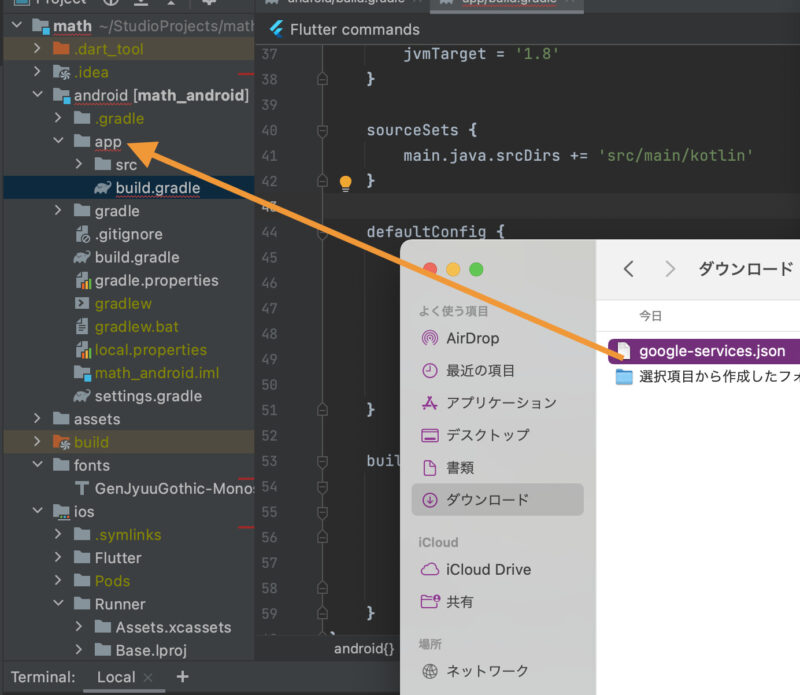
google-services.jsonをダウンロードします。
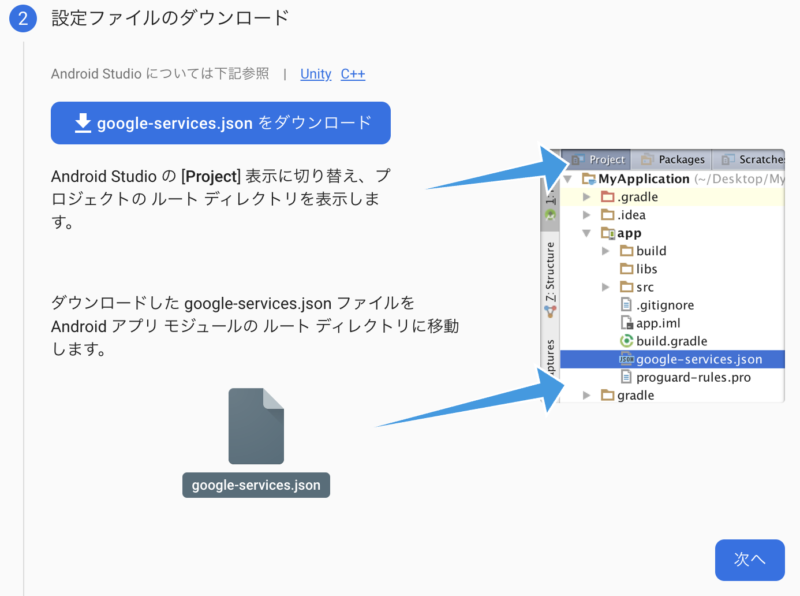
ダウンロードしたファイルを、appフォルダ内に追加します。
build.gradleの追加
android>build.gradleに、classpath 'com.google.gms:google-services:4.3.10'を追加します。
    dependencies {
        classpath 'com.google.gms:google-services:4.3.10' //これを追加
        classpath 'com.android.tools.build:gradle:4.1.0'
        classpath "org.jetbrains.kotlin:kotlin-gradle-plugin:$kotlin_version"
    }
アプリレベルのbuild.gradleへの追加
android>app>build.gradleに、下記を追加します。dependenciesは、一番下に記載されてあるので{}内を追加してください。
apply plugin: 'com.google.gms.google-services'

dependencies {
  implementation platform('com.google.firebase:firebase-bom:29.2.1')
  implementation 'com.google.firebase:firebase-analytics'
}
firebaseパッケージの追加
flutter pub addで、以下のパッケージを追加します。
・firebase_core
・firebase_analytics
・firebase_auth
・cloud_firestore
最後にflutter pub getを実行します。
パッケージの追加方法がわからない方は下記記事をご覧ください。

ここまで終わったら、準備は完了です。
実際に実行→エラーが起きるかも。
実際に実行してみます。この際、iOSもAndroidどちらでも実行しておいてください。
エラーがたくさん出てくると思うので解決方法をまとめておきます。
iOSバージョンを指定して!と言われる場合
Automatically assigning platform iOS with version 9.0 on target Runner because no platform was specified. Please specify a platform for this target in your Podfile.
と言われる場合は、Podfileでバージョンが指定されていないか、指定されているバージョンが古すぎます。Podfileの一番上にある文章の#を消して、新しいバージョンを指定しましょう。

パッケージが古いわ!と言われる場合
Error: Cannot run with sound null safety, because the following dependencies don’t support null safety
とか、下記のようにdepends on both firebase_auth ^0.20.1 and build_runner ^2.1.7, version solving failed.と出る場合は、パッケージが古すぎることが原因です。パッケージをアップデートしましょう。

minSdkVersionが古いわ!と言われる場合
uses-sdk:minSdkVersion 16 cannot be smaller than version 19 declared in library
と言われる場合は、app階層のbuild.gradleに書いてあるminSdkVersionを新しいものにする必要があります。

.javaが推奨されないAPIを使ってますとか安全じゃないですとか出る場合
FlutterFirebaseAnalyticsPlugin.javaは推奨されないAPIを使用またはオーバーライドしています
上記のようなメッセージが出た場合は、minSdkVersionが古い場合があります。app>build.gradleのminSdkVersionを25など新しいものにしましょう。2022年2月現在は25でokですが、もっと新しくする必要があるかもしれません。

methodsが多い!と言われる場合
Cannot fit requested classes in a single dex file(# methods: 106047 > 65536)
などと言われる場合は、multiDexEnabledをtrueにしてください。

firebaseをコードで実装する
さて、コードに実際に書いてみましょう。firebaseを使用する際は、下記のようにFutureBuilder()を用いて記載します。
class App extends StatelessWidget {
@override
Widget build(BuildContext context){
return FutureBuilder{
future: Firebase.initializeApp(),
builder: (context, snapshot){
if (snapshot.hasError){
return Text("SomethingWentWriong");
}
if (snapshot.connectionState == ConnectionState.done){
return MyHomePage();
}
return Text("Loading");
},
);
}
}
このように記載しないと、下記のようなエラーが表示されます。
No Firebase App ‘[DEFAULT]’ has been created – call Firebase.initializeApp()
firebaseを利用したいクラス内で、変数を宣言します。
final _firestore = FirebaseFirestore.instance;Cloud databaseを使ってデータを格納する方法
上記のように_firestoreを宣言したクラス内かつ上位のクラス(MyApp()等)にFutureBuilderが宣言されている場合は、下記のようにしてデータを操作することができます。
Firebaseでデータベースを作成
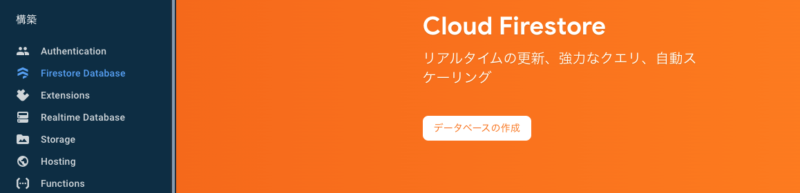
プロジェクトのページにいき、左から”Firestore Database”を選択し、データベースの作成を押します。
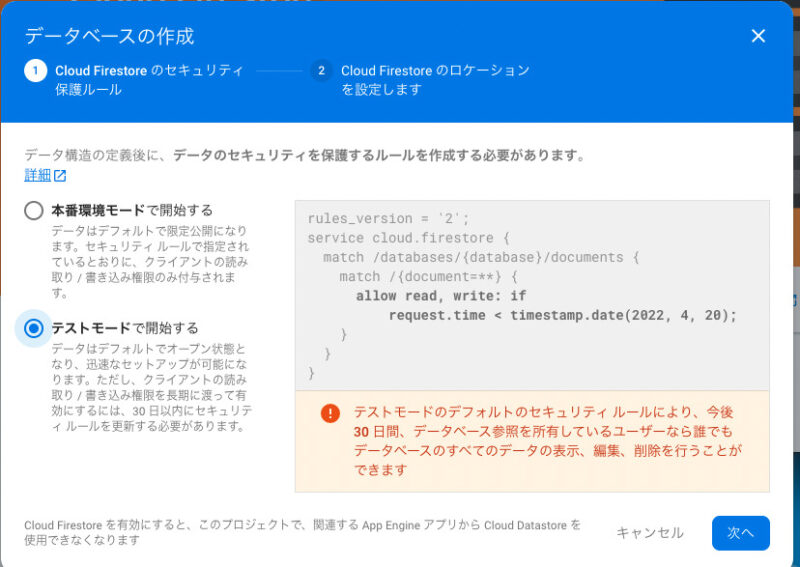
テストモードで開始する、を押します(アプリを公開する際には、セキュリティルールを変更する必要があります。)
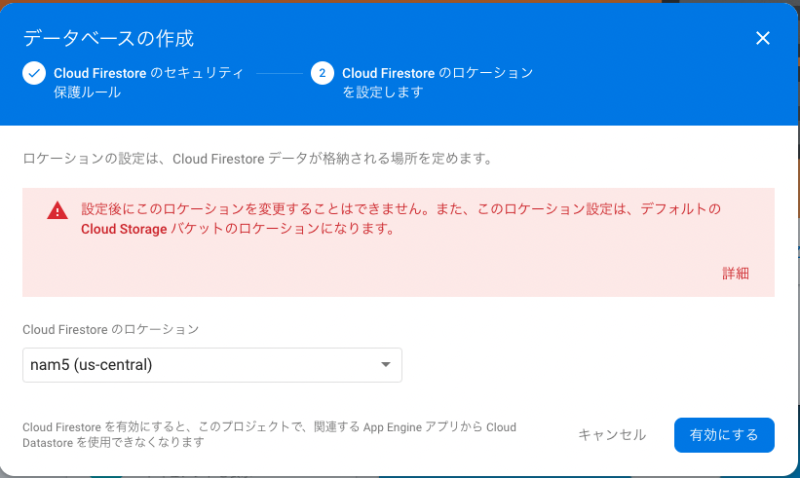
データベースの場所を選びます。デフォルトで問題ありません。
データの追加
_firestore.collection("questions").add({
'question': '質問です',
'answer': '答えです',})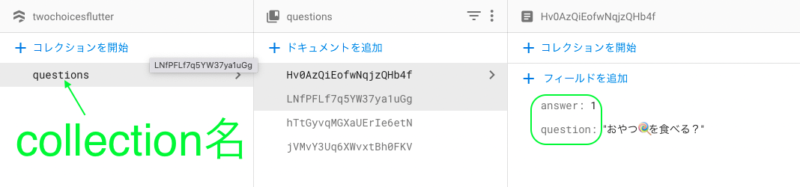
なお、collection()内に入れるのは、firebaseのcloud Firestoreにあるコレクション名です。存在しない名前を入れれば新規追加されます。
データをリストに格納する場合
データを得る場合は、下記のように記載します。
child: ListView(
              children: snapshot.data!.docs.map((DocumentSnapshot document) {
                Map<String, dynamic> data = document.data()! as Map<String, dynamic>;
                return Card(
                  color: Colors.white,
                  child: ListTile(
                    title: Text(data['question'], textAlign: TextAlign.center,),
                    trailing: Text((data['answer']==0 )?  "×": "○",
                      style: TextStyle(fontSize: 30),),
                  ),
                );
              }).toList(),
            ),
上記のように打つと、dataという変数として使うことができるようになります。
参考ページ
公式ページにも詳しく載っています。興味ある方は読んでみてください。
コメント